
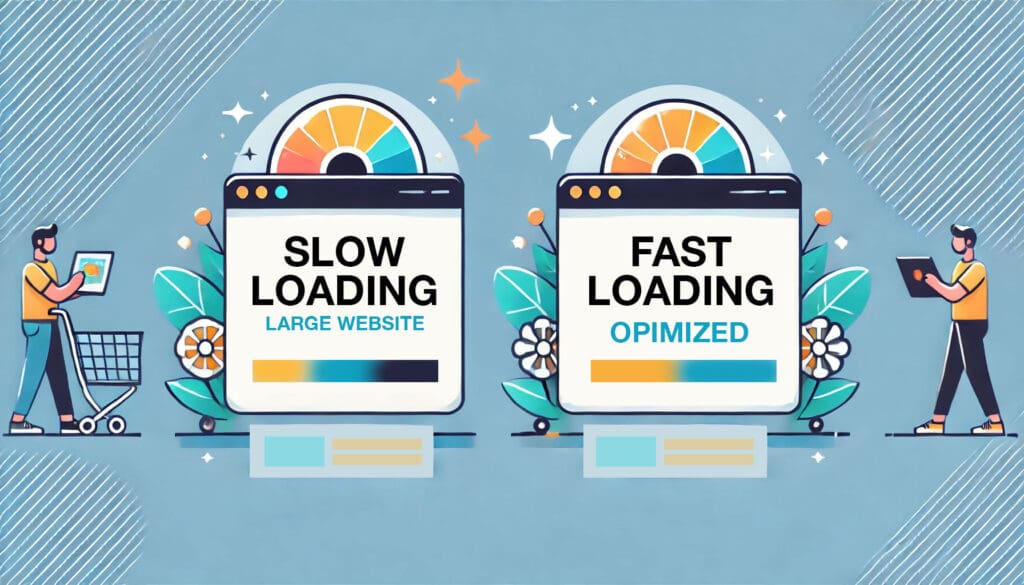
Let’s face it: images are the lifeblood of any website. They grab attention, tell stories, and make your site visually appealing. But they can also be one of the biggest culprits behind slow loading times. The good news? You can reduce image sizes without sacrificing their quality, and it’s easier than you think. In this guide, we’ll explore practical tips to optimize your images and keep your website running fast and smooth.
Why Image Optimization Matters
Imagine visiting a website that takes forever to load. Frustrating, right? That’s often because of large, unoptimized images. Here’s how reducing image sizes can make a big difference:
- Improves Speed: Smaller image files load faster, improving the overall speed of your website.
- Boosts SEO: Search engines love fast-loading sites, and optimized images can help you rank higher.
- Enhances User Experience: A speedy site keeps visitors happy and encourages them to stay longer.
- Saves Storage: Smaller files take up less space on your server, which is a win for hosting costs.
Step 1: Choose the Right File Format
The file format you choose plays a big role in your image size. Each format has its strengths, so it’s essential to pick the right one for the job:
- JPEG: Great for photographs and complex images with lots of colors. It offers excellent compression without a noticeable loss in quality.
- PNG: Ideal for images requiring transparency, like logos and icons. While they’re higher quality, PNG files can be larger.
- WebP: The modern choice, WebP balances quality and file size beautifully, making it a solid option for most use cases.
Step 2: Resize Images to Fit Your Website
Uploading massive images and relying on your website to resize them is a common mistake. Always resize your images to the exact dimensions needed for your site before uploading.
- For Example: If your blog layout displays images at 800 pixels wide, don’t upload a 4000-pixel image—it’s overkill and slows things down.
- Tools to Use: Free tools like Canva or built-in editors like Preview (on Mac) can quickly resize images to the desired dimensions.
Step 3: Compress Images Without Losing Quality
Compression reduces file size by removing unnecessary data, but when done right, the quality difference is barely noticeable.
- Online Compression Tools: Use tools like TinyPNG, JPEGmini, or Kraken.io for quick and effective compression.
- WordPress Plugins: If your site runs on WordPress, plugins like Smush or Imagify can automatically compress images as you upload them.
Step 4: Leverage Lazy Loading
Lazy loading means images only load when they’re about to appear on the user’s screen. This reduces the initial load time for your page.
- How to Enable Lazy Loading: Most platforms, including WordPress, offer lazy loading as a built-in feature. Simply enable it in your settings or use a plugin if it’s not available by default.
Step 5: Use a Content Delivery Network (CDN)
A CDN stores your images on servers around the world, delivering them from the closest server to your visitor. This reduces loading times, especially for users far from your hosting location.
- StackCP’s Free CDN: If you’re hosting with StackCP Web Hosting powered by CP Cloud Hosting, you can activate the free CDN feature to optimize image delivery for global audiences.
Step 6: Optimize Alt Text for Accessibility and SEO
While not directly related to file size, optimizing alt text is an important step for accessibility and SEO. Use descriptive alt text to explain your image content while incorporating relevant keywords.
- Example: Instead of “IMG1234.jpg,” use “sunset-over-mountain-landscape.jpg.”
Step 7: Regularly Audit and Update Your Images
Websites evolve over time, and so should your images. Regularly check for outdated or oversized images that could be replaced with optimized versions.
- Pro Tip: Use tools like Google PageSpeed Insights to identify images that may need resizing or compression.
Final Thoughts: Optimize for Speed and Quality
Optimizing images doesn’t mean compromising on quality. With the right tools and techniques, you can have stunning visuals that don’t slow your site down. Whether you’re resizing, compressing, or enabling lazy loading, every little step makes a difference.
And if you’re hosting with StackCP Web Hosting powered by CP Cloud Hosting, you’re already ahead of the game. With free features like a CDN and seamless hosting solutions, StackCP ensures your website delivers a fast and smooth experience every time.